Dropbox Integration
AutomatedDocs offers an integration with Dropbox, allowing you to automatically upload each new document into a specified folder within your Dropbox account. This guide will walk you through selecting a target folder in Dropbox where your documents will be saved.
{info} Note: Currently, we support only personal folders, not team folders.
Connect Your Dropbox Account
Begin by linking your Dropbox account to AutomatedDocs.
Setting Up Your Dropbox Integration
Once your account is connected, you'll choose the Dropbox folder for storing your generated documents.
Access Dropbox Folder Selection
In the Dropbox integration section of AutomatedDocs:
- You'll find an option to "Choose a folder."
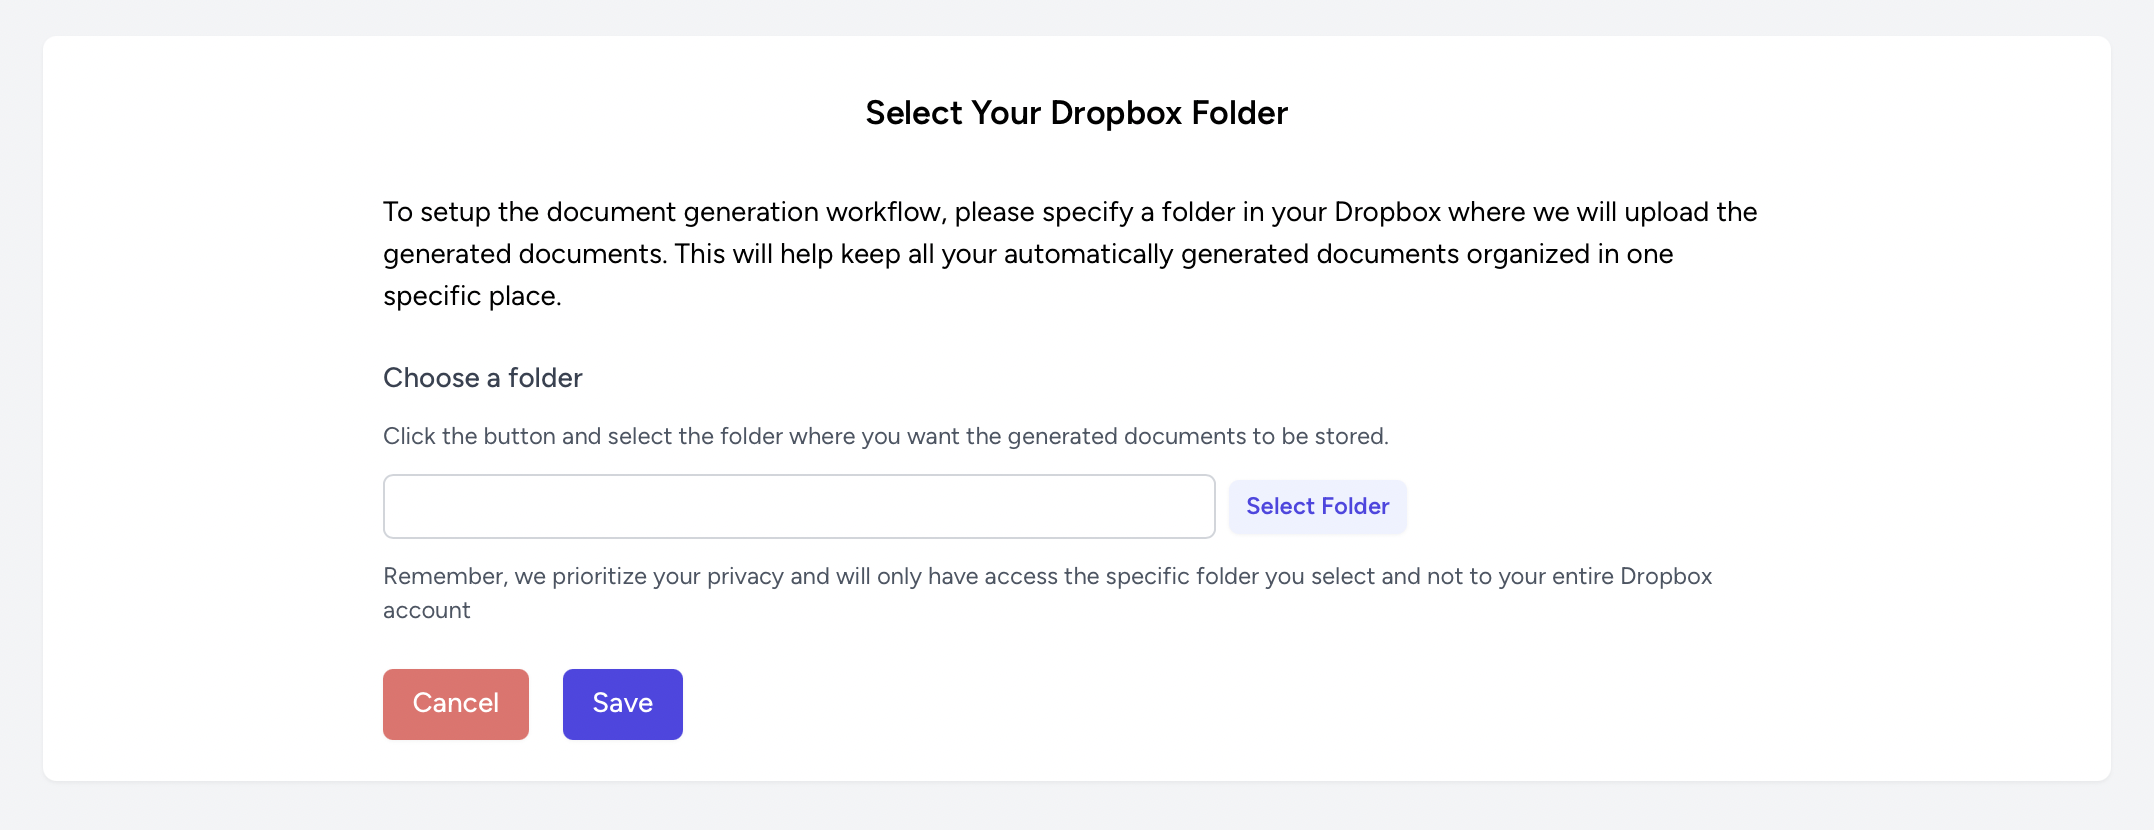
Specify Target Folder
To select your target folder on Dropbox:
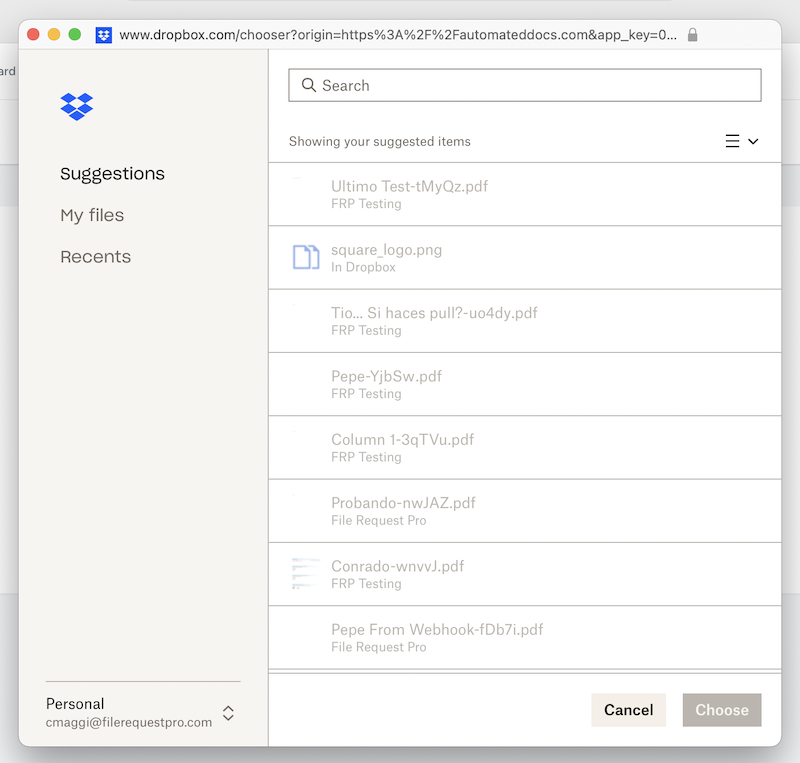
- Click "Select Folder".
- If not already logged in, you'll need to sign into your Dropbox account.
- Navigate to and select the folder where you want to save your documents.
Warning: If you don't have a designated folder for AutomatedDocs documents in Dropbox, you can create one before starting this setup or during the folder selection process.
Confirm and Save
Once you've selected the folder:
- Ensure it's the correct location for your documents.
- Click "Save" to confirm your choice and finalize the integration.
Privacy Assurance
- AutomatedDocs is committed to your privacy, requiring access only to the folder selected for document storage.
- Be assured, AutomatedDocs cannot access any other part of your Dropbox account outside of the chosen folder.