Getting Started with AutomatedDocs
Welcome to the AutomatedDocs Help Center! This guide is designed to introduce you to the basics of creating and managing document templates with AutomatedDocs. Whether you're looking to generate invoices, contracts, or any other types of documents, we're here to assist. Let's dive into the process of creating your first template and generating a test document.
Step 1: Create Your Template
Creating a template is your first step towards document automation with AutomatedDocs. Here's how to get started:
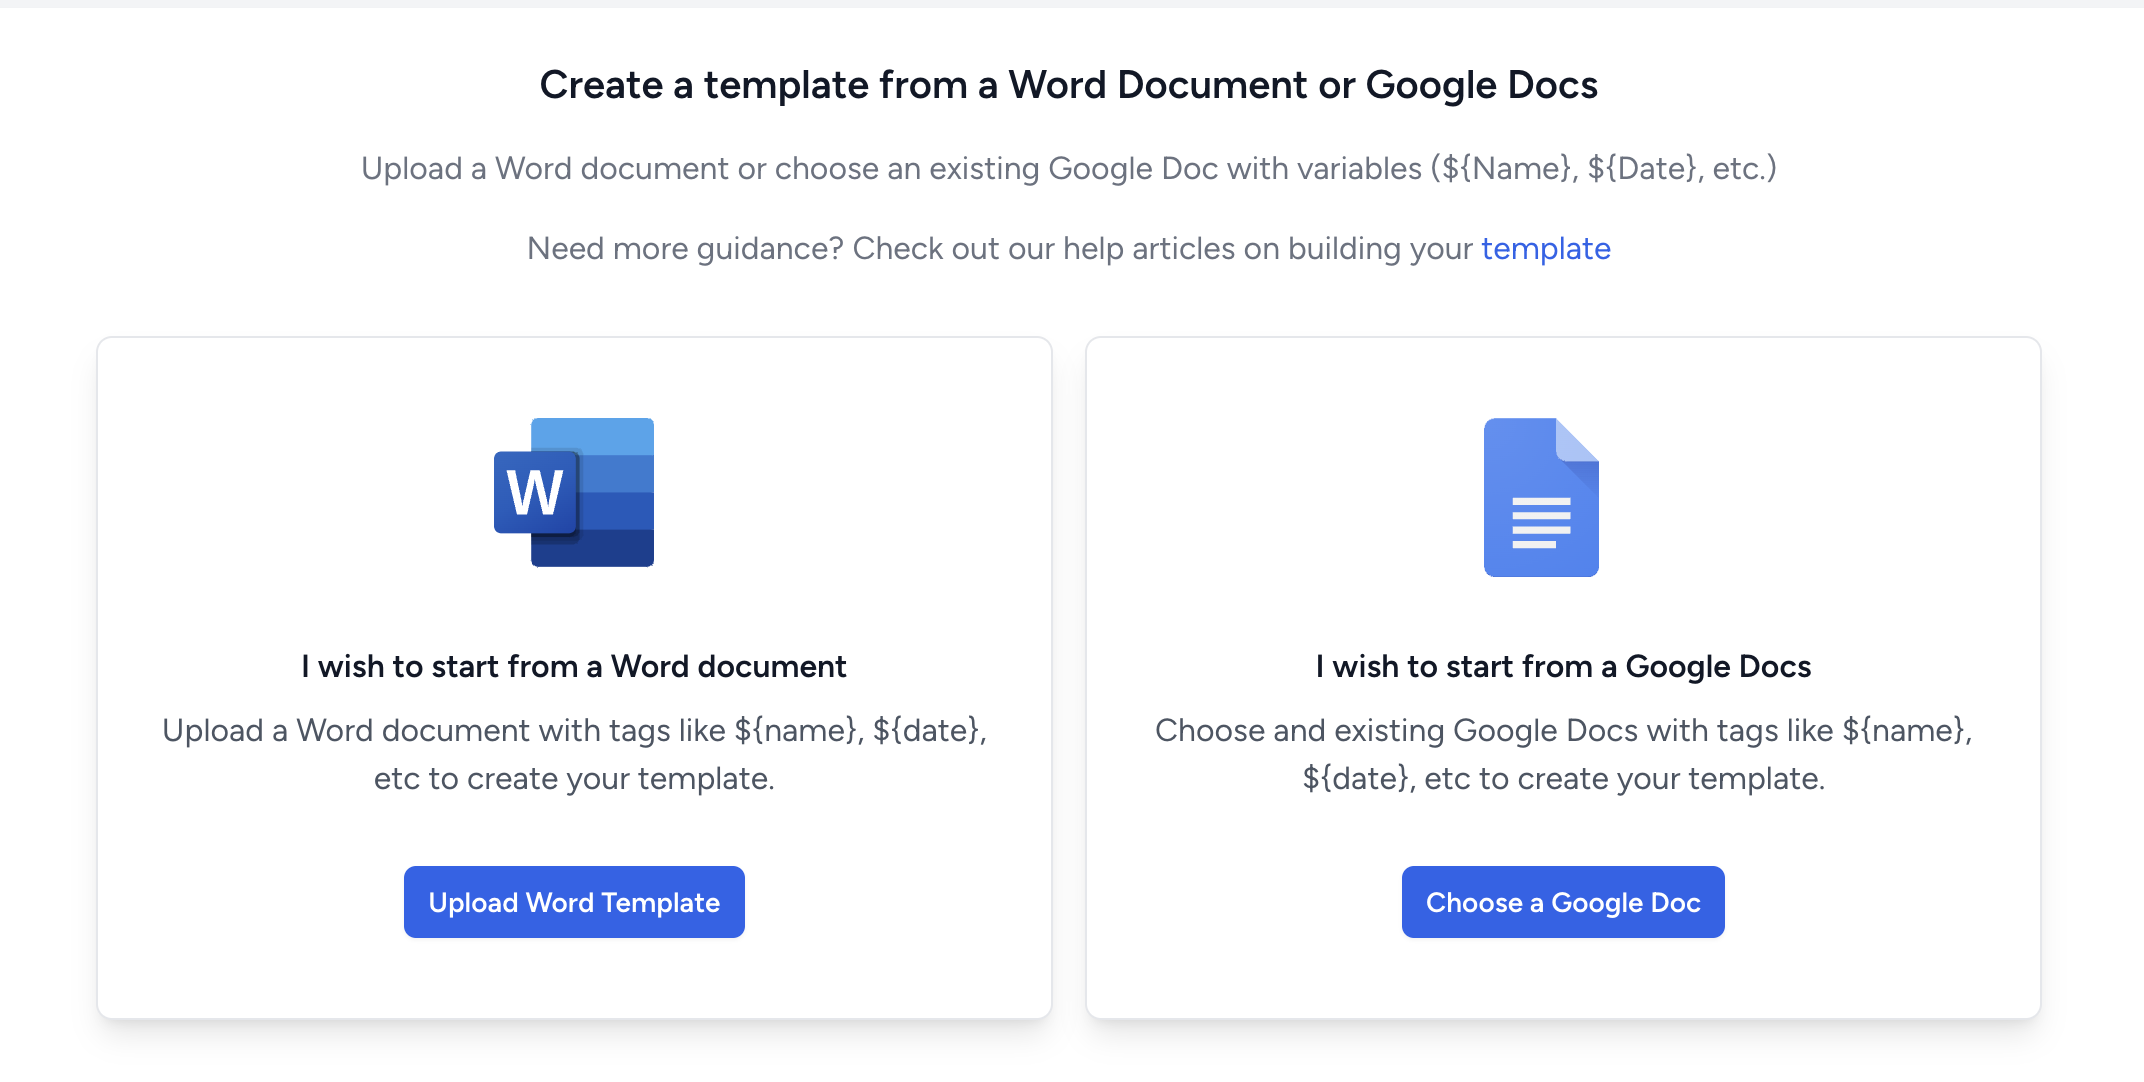
- Go to the Templates section in your dashboard.
- Choose to upload either a Word document or a Google Doc.
- Follow the on-screen instructions to select and upload your file, creating your new template.
Remember, creating a template is a one-time process. Once uploaded, you can use this template as the basis for generating multiple documents.
Step 2: Preview Your Template
After setting up your template, it's important to preview it to ensure everything translates correctly:
- Navigate to the Preview tab within the template settings.
- Complete the auto-generated form with sample data for each placeholder. This step simulates how your real data will fill the document.
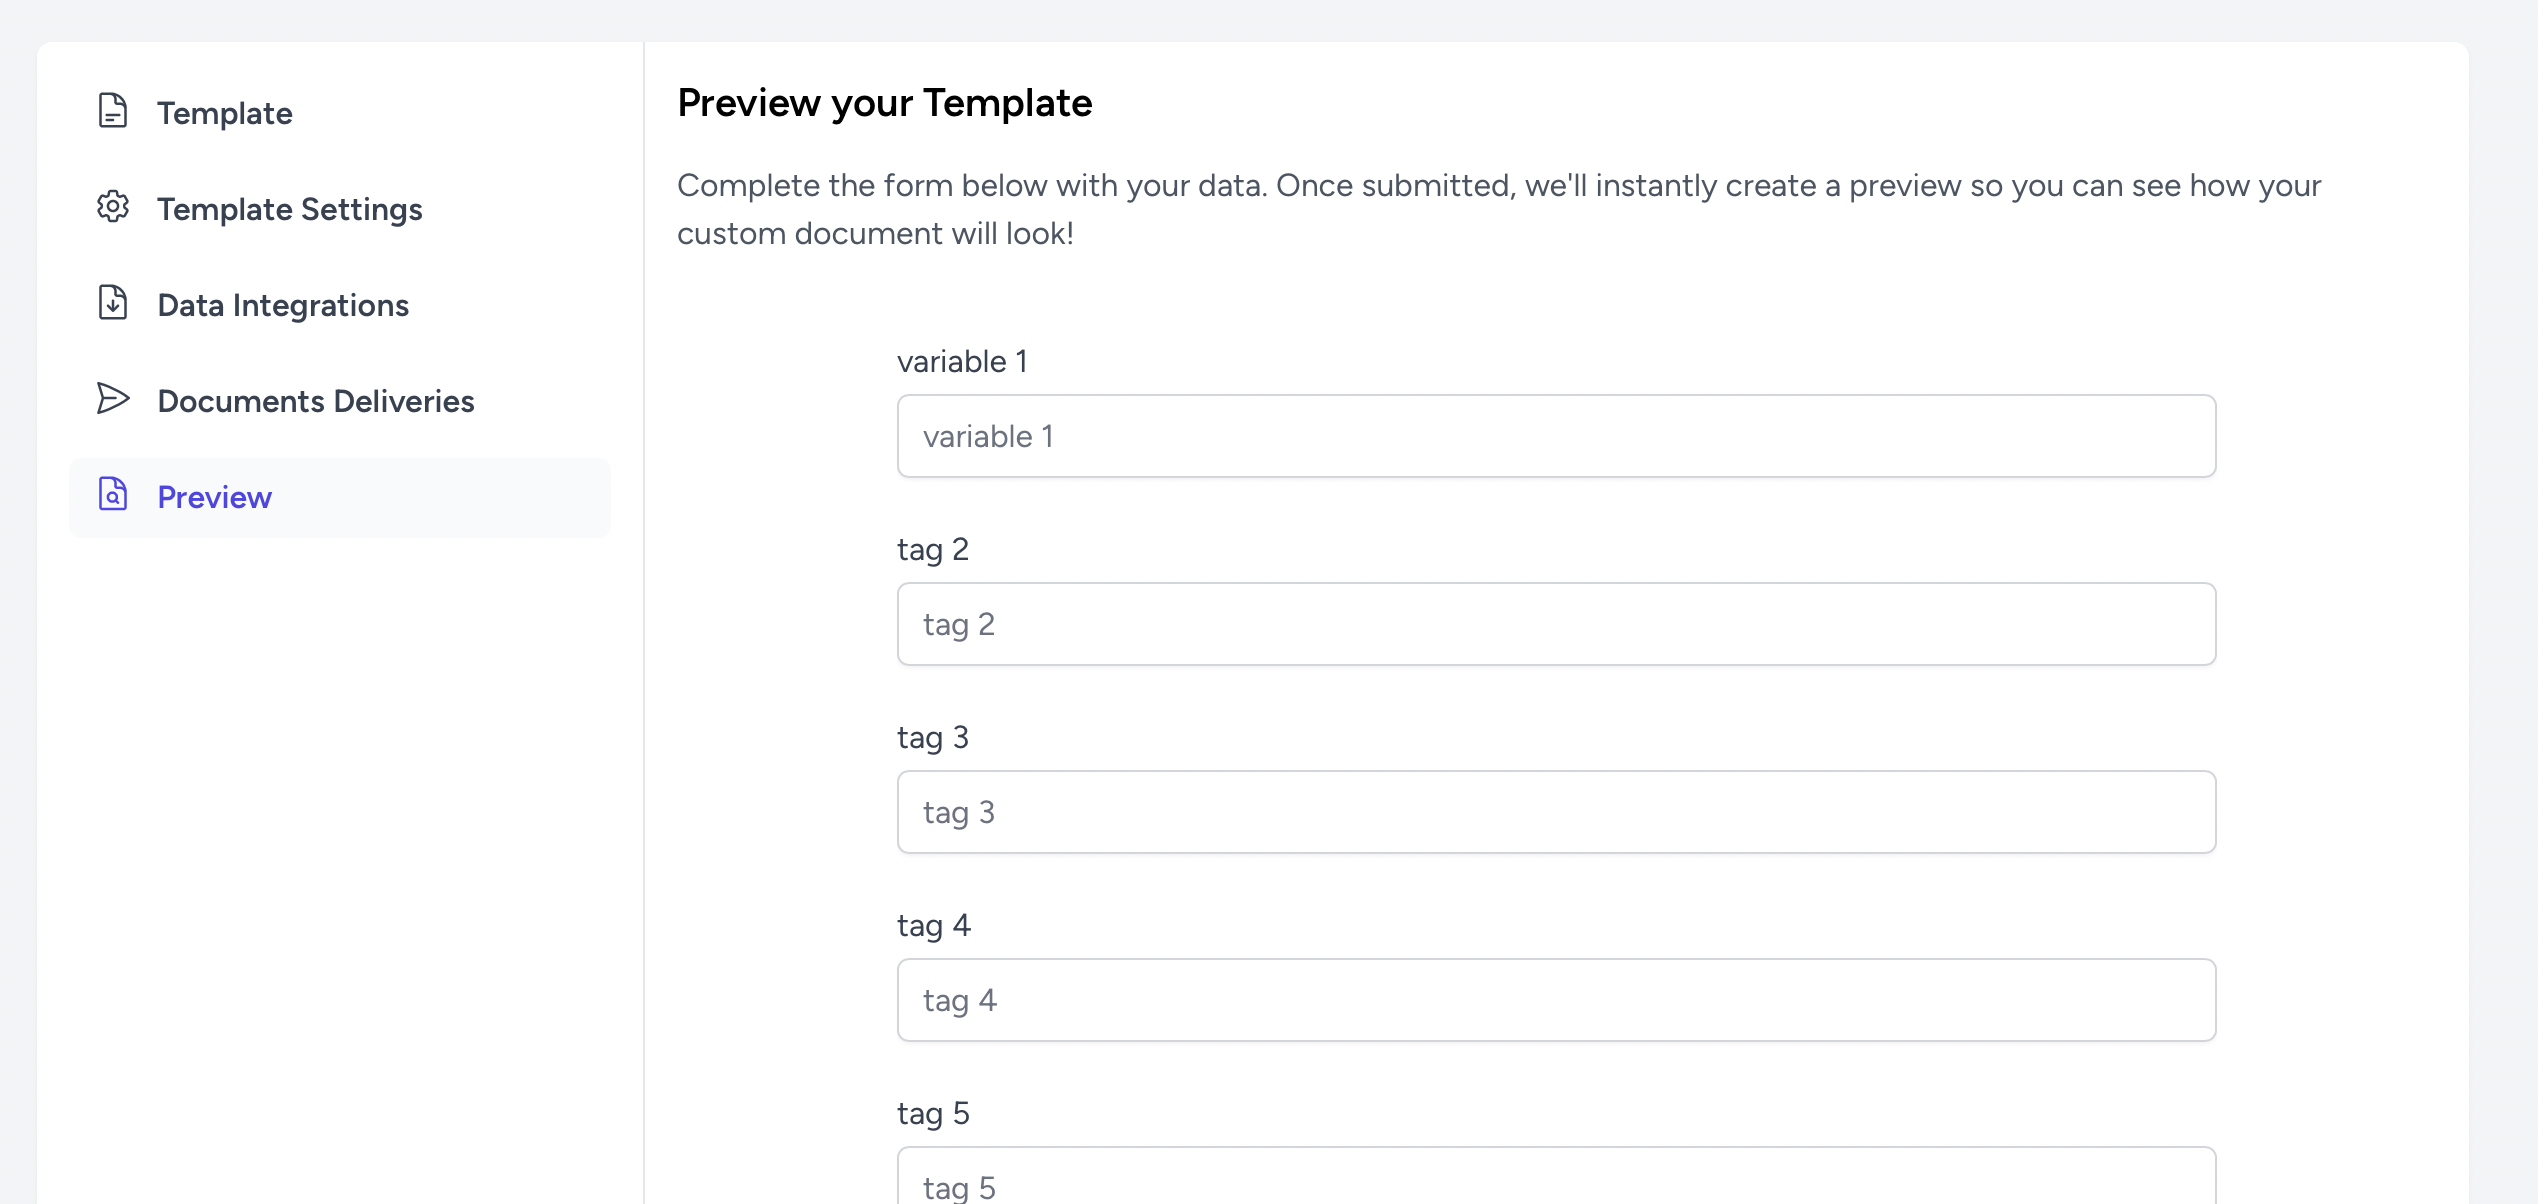
- Submit the form to instantly generate a test document.
Previewing your template helps you visualize the final document and confirm that all data aligns correctly.
Step 3: Download and Review
Now, it’s time to download and review your test document:
- Click the Download button to save the test document to your device.
- Open the document and carefully check the content and layout.
- Verify that all the information is accurate and appears as expected.
Reviewing your document ensures that your template is correctly set up and ready for use.
Ready to Get Started?
Now, connect your data source. Once you begin to add new data, a PDF or Docx will be automatically created within a few minutes.